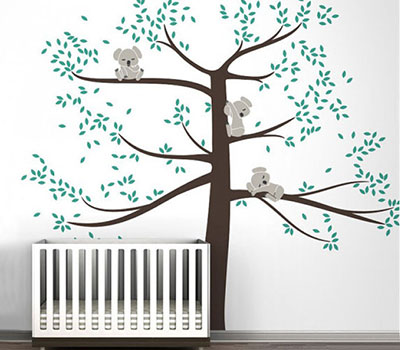
Here, we cover the benefits of these smart stickers and look at why non-removable options are a no-go. Plus we’ll teach you how to apply wall decals with a perfect, bubble-free finish. While relatively straightforward, there are a few tips and tricks that will make all the difference.
Ready to bring another dimension to your work or living space? Sit back and join me as we discuss all things decalcomania.

Why Removable Wall Decals are Better
Minimal Damage and Easy To Remove
But what happens when you graduate, want to change the decor, or get promoted to that larger office down the hall?
Chances are, the new occupant may not be as enamored with your taste, which could mean they (or you) have to remove glued-on wallpaper, a job everyone hates for good reason. Or worse, you lose your security bond.
Removable wall decals are better because as long as you’re patient, removing them is simple and won’t damage the underlying paint job. Gently pull the corner away and the design should peel right off, then you can place it on some wax paper or the original backing ready for its next application.
If the sticker is stuck fast, take a hairdryer and use a warm setting to blow some air on the decal, you’ll find that it comes away easily. For any remaining glue residue, a bit of soapy water or WD-40 will get rid of the evidence and leave no lasting damage to the surface.
Great Price Point
Many wallpapers have a high price point that won’t always fit within your budget. But many wall decals come in at under ten bucks (such as these floral designs). Even if you are looking to create an entire accent wall and add some calm to your study, this beach landscape wall mural decal will not break the bank.
Easy to Apply
If you’re fed up with messy wallpaper paste getting everywhere except where you want it, wall decals are a lot more user friendly. You also don’t need any specialized equipment for the task, just your finger and a pin to pop any immovable air pockets.
You could always stencil your design onto the surface with a spray gun and some coating. But stenciled designs are not as easy to remove and you’ll spend significantly more time creating and painting your designs.
Decals Can Be Applied to Any Flat Surface
As long as you prepare the surface accordingly, wall decals can be applied to any flat surface including cabinets, bookshelves, toy chests, and even glass.
The only prerequisite is that the surface is smooth and clean. One of the easiest ways to achieve a blemish-free finish on interior walls is to apply your coating with a paint sprayer.
Spray guns such as Homeright Power Flo 2800 are fantastic when refurbishing interior surfaces. Airless technology means fast progress on even the largest walls. Plus, guns like this can handle the thicker latex coatings used on most interior walls without thinning.
One important thing to remember is to leave at least two weeks before applying a decal to a freshly painted wall. Coatings need a long time to cure fully. If you wait for those two weeks, when the time comes to remove the sticker, it will peel away easily and leave the paint job intact.

How To Apply a Removable Wall Decal
What You Need to Follow This Tutorial
-
- Your chosen wall decal
- Tape measure
- Bucket of soapy water
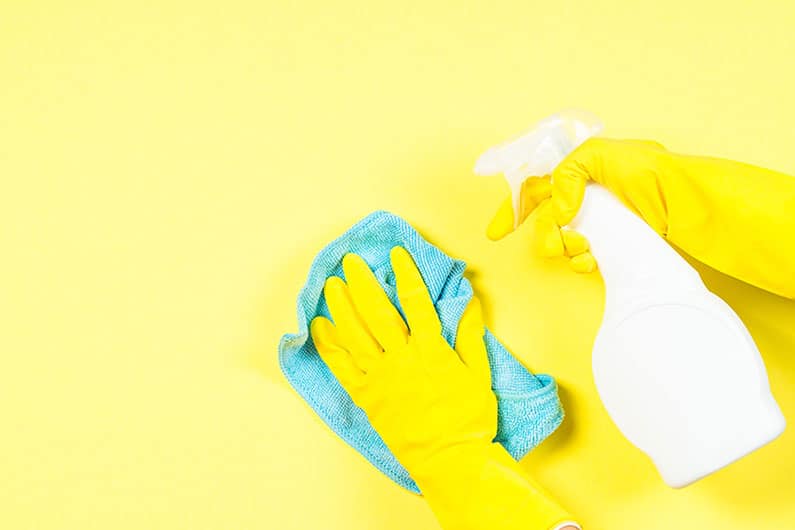
- Cleaning cloth
- Lint-free drying cloth
- Painter’s tape
- Pencil
- Squeegee
- A pin
Step 1: Preparation

Step 2: Application
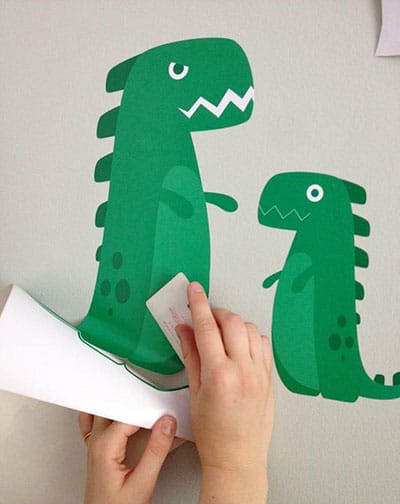
Air bubbles interfere with the final finish and can stop the decal from properly sticking to the surface, meaning it could fall off over time.

Step 3: Finishing Up

Get Sticking!
Removable decals can be removed easily without damaging surfaces, so you won’t lose your security deposit or leave behind undesirable evidence of your DIY decorating, which is essential in rental and shared living situations.
Why should you only use removable wall decals? Because they’re quick, fun, easy, cause no damage, and they’re cheap!
Removable Wall Decals FAQs
Q: Can I Reuse Wall Decals?
As long as you carefully remove decals from the surface (being careful not to tear them) and store them on the original backing or wax paper, you can often reuse wall decals. Just check the quality of the glue on the decal to ensure it’s still tacky. If the back of the decal doesn’t feel sticky enough, apply some spray adhesive and you should be good to go.
Q: Do Wall Decals Damage Walls?
One of the best things about removable wall decals is that they will not leave any damage to the wall or its paint job. So go ahead and get decal happy with impunity!
Q: How Long Do Wall Decals Last?
Properly applied high-quality removable wall decals will last for years. If for some reason a decal starts to fade or peel away at the edges, replacements can be purchased for as little as ten dollars.
Q: Can You Put Wall Decals on Freshly Painted Walls?
No. Even though wall paint may feel dry to the touch, the coating is not fully cured until roughly two weeks after it was applied. As a rule of thumb, wait that long before applying a wall decal.
Q: How Do You Get Wall Decals off Without Damaging the Wall?
If you find that your wall decal isn’t peeling off easily, apply gentle heat from a warm hairdryer. This warms the adhesive underneath and allows you to remove the wall decal without causing damage.
Q: Does Vinegar Remove Adhesive?
At a push, white vinegar will remove any residue adhesive left behind by a wall decal. However, you may find that after washing the surface the vinegar odor lingers. A far more sniff-friendly technique is to use ordinary dish soap and water or a little diluted sugar soap.


