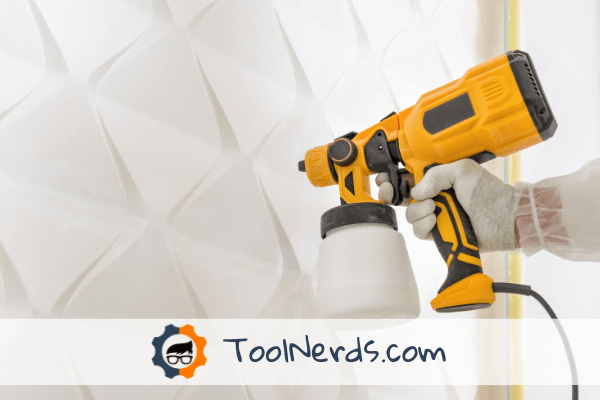
With this in mind, I’ve created this seven-point checklist for you to peruse and keep close to hand before you start. Hopefully, you’ll find that when combined, these tricks will minimize the post-task mess — transforming you into an efficient spraying expert.
Furthermore, by creating good clean-up habits, not only will you save time, but you’ll also save money — as more of your coating ends up where you intended.
1. Prepare Properly
There are a few different aspects to prepare, including:
- Your workspace.
- Yourself.
- Paint Sprayer.
As your spray gun is quite involved, it receives its own prep section (#2) in a moment. So for now, let’s focus on the first two points.
Workspace Preparation
Nothing is more irritating than finishing up painting a wall only to find a blob of paint on the carpet. Or perhaps, you’re coating a window frame, and when done, you notice some medium on the glass. Admittedly, neither of these are end-of-the-world scenarios, but it’s time-consuming to remove the mess.
Therefore, room or workspace preparation is important. So, how can it be done?
The great thing about this kind of prep-work is that it needn’t be expensive or timely. Start by covering your floor with a reusable canvas drop cloth or some old newspaper — although, the former tends to stay in place better.
Drop cloths can also be used to cover immovable furniture. However, when covering a wall or a window, it will be too heavy. In this case, a thin and lightweight 0.16-inch (4 mm) poly sheeting could be a better solution. Furthermore, it provides an effective barrier in doorways if you’re trying to stop paint fumes and vapor from traveling to the rest of your house,
A roll of masking tape also doesn’t go amiss. It’s ideal for covering smaller items (light switches and electrical outlets). Plus, it’s adept at creating sharp straight lines where needed.
Prepare Yourself
Possibly more important than protecting your workspace is safeguarding yourself — not only to avoid ruining your workwear but also because some coatings can be toxic if they come into contact with your eyes or skin. For this reason, you should not only protect your clothes with a quality coverall, but a spray sock (a hood that fits snugly to your head) is also worthwhile.
Furthermore, eye goggles and a respirator are an additional level of protection. While not directly related to clean-up, it’s a critical point that should not be left out. For example, the MEIGIX Industrial Safety glasses allow you to wear your prescription spectacles underneath — they’re also anti-fog.
And, if you’re searching for a reasonably priced respirator, then check out the 3M 6300 Reusable Half Facepiece Respirator. It provides protection not only for your painting tasks but also from dust when completing carpentry projects.

2. Use a Paint Pourer To Fill the Coating Container
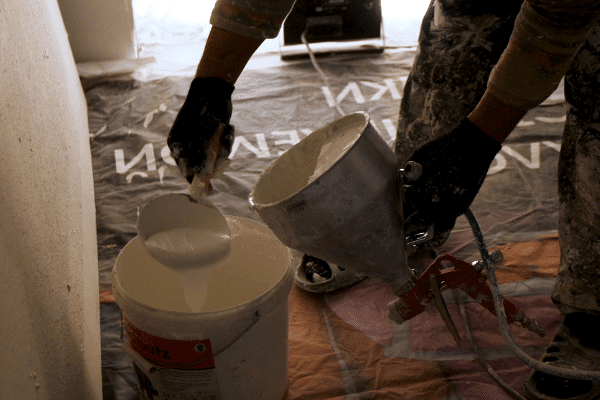
Alternatively, a device like the HVLP Tacklife SGP 15AC sprayer arrives with a paint cup built for no-fuss refills. This design means you can add medium rapidly and directly without removing the container from the system. All you have to do is flip the lid and pour in the paint — eliminating the mess.
However, if you already own a spray gun with neither of these features incorporated, using a paint pourer to fill the coating cup is a simple yet effective device. Ingeniously designed, this specific tool will fit snugly in a one-gallon container and has a smooth spout. Furthermore, the high sides prevent overspill when stirring and mixing.
While on the subject of coatings, to save clean-up time on sprayer filters a paint strainer will reduce clogs at the source. Although not expensive, if the wife is complaining about the amount you’re spending on your DIY budget, you can always upcycle a pair of her hold-ups for the same purpose.
3. Make Sure You Don’t Over Thin the Paint
Some high viscosity coatings need to be diluted before use. Admittedly, at first glance, this subject isn’t directly linked to an easier painting clean up. However, as you delve deeper, you’ll see the correlation.
If your paint is over thinned, it’s more prone to overspray — that is to say, the medium will end up where you least intended it to. So how do you accurately work out how much to thin your medium? A good starting point is to check out How To Thin Paint for a Sprayer. You’ll find an in-depth guide, which also includes the best solutions for diluting your paint.
Another option (if for some strange reason you don’t have time to read the above), is to follow the coating manufacturer’s instructions and employ a viscosity cup — which some paint sprayers, like the HomeRight Finish Max Spray Gun include in its package as standard.
4. Use the Sprayer on the Lowest Power Setting
Why? Because some units tend to deliver increased overspray on higher settings. What’s more, unless your arms can sustain moving consistently at a speedy pace — when operating at high power — you’ll also end up with undesirable paint pools to clean up.
The best way to avoid these issues is to invest in a paint sprayer like the Wagner FLEXiO 5000, which has variable X-Boost power and pressure output. This enables you to start your project on the lowest power setting and gradually build it up — meaning the coating is propelled adequately and according to the viscosity.
5. Use the Correct Nozzle Size
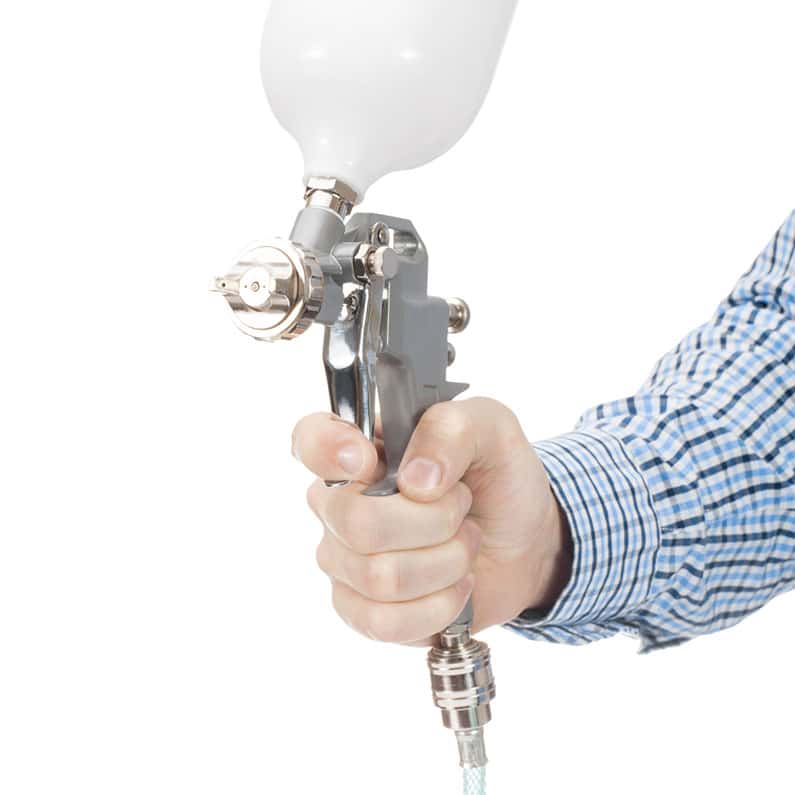
As my How To Find the Right Paint Sprayer Nozzle guide explains, it’s not a case of one size fits all when talking about tips. For example, stains and sealers need a small diameter orifice, as is found in the Husky Siphon Feed H4930SSG Spray Gun.
In contrast, heavier-duty mediums, such as latex and epoxies benefit from a larger sized opening and is demonstrated in the Graco Airless 17m363 sprayer. On the topic of airless sprayers vs HVLP (high-volume, low-pressure) units, the diameters of the tips (either expressed in inches or millimeters) do not relate mutually.
As airless machines operate at a high pressure, they can get away with a narrower opening. Conversely, turbine-driven HVLPs work at the lower end of the PSI scale and therefore require a relatively larger tip diameter — making them adept for small and midsize projects.
6. Ensure the Machine is Properly Maintained
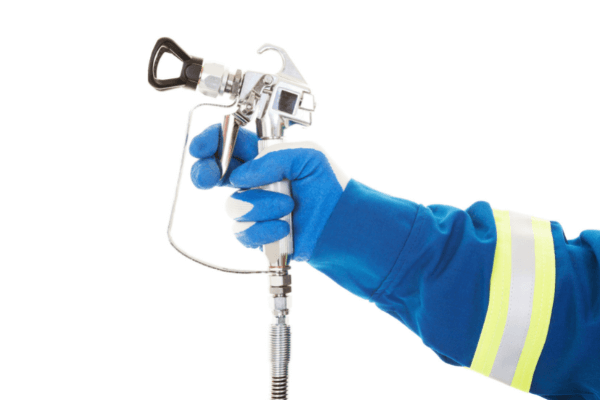
Another way to angle for an easier painting clean up is by ensuring that your spray gun is properly maintained. Although the techniques may vary depending on whether you own an HVLP or airless unit, the fundamentals remain the same.
Also, when completed regularly, this task will assist in a more simplified clean-up post job (as the sprayer will work more efficiently with no leaks). Plus, it will also guarantee the longevity of your device — saving you money in the long run. Let’s take a look at the key components that you need to pay attention to.
In the case of an airless spray gun, the first part to check is the heart of the device — the pump. The simplest way to keep track of when you need to service the pump is by keeping a logbook of gallons pumped or hours operated — similar to the oil in a car.
When the time comes, you need to check the general rod, pump balls, seals, and packings for signs of wear and replace as necessary. Also, check the uptake and spray gun hose for leaks, kinks, and cracks.
Now to focus on some aspects that are similar in airless and HVLP sprayers. You also need to have a look for signs of deterioration at the fluid nozzle. If you’re unsure what nozzle wear looks like or how to replace a tip, read through my comprehensive How To Find The Right Paint Sprayer Nozzles article.
As a further generalization, check all threads, washers and gaskets are in good condition and repair or replace as required.
7. Choose an Easy-Clean Machine
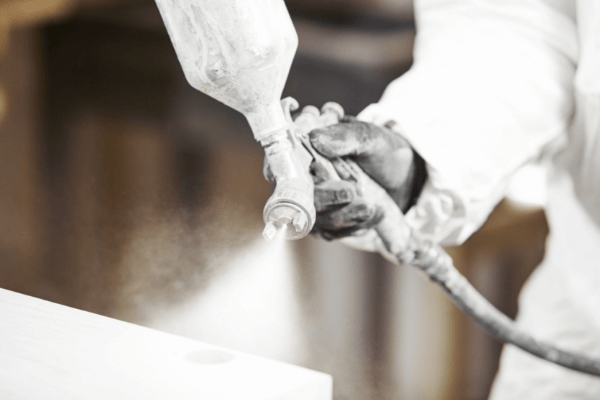
Other examples of forward-thinking from manufacturers come in the form of the PowerFlush feature that’s found in the Graco Magnum X19. This approach allows you to attach a garden hose to the unit, which rapidly flushes the system for you.
Pneumatic (or compressor-driven) guns are also not excluded from this section. Many come as a complete kit, like the Sprayit LVLP SP-33310K — that arrives with a wrench, which allows for simpler dismantling.
Conclusion
Concentrate on preparation and choose a machine with features that streamline the clean-up process. Additionally, use methods that make coating dilution, stirring, and adding to the machine a drip-free process. Regular maintenance is also paramount to mess-free rapid project conclusions.
Hopefully, you’re all set for an easier painting clean up and if you found this guide helpful, please share it with your fellow DIYers.
Easier Painting Clean Up FAQs
Q: How Do You Clean Your Sprayer up After Painting?
You need to ensure that you complete a thorough clean up of your paint sprayer after painting. If you’re not sure where to start, check out How to Clean a Paint Sprayer.
Q: Should Painters Clean up After Themselves?
Yes. Unless you’re lucky enough to employ someone that carries out this task for you (which many of us aren’t) — clean-up is part of the process. Hence, will have to be completed by the DIYer — meaning, you.
Q: Is It Ok to Rinse Paint Down the Drain?
No. Try to refrain from pouring paint and paint rinse water down the drain, over time it will cause your plumbing to clog up. Plus, think of the negative environmental impact it will have.
Make sure you dispose of paint waste in a responsible manner. Check with your local authority for any specific regulations or recycling schemes in your area.
Q: What Do You Clean a Spray Gun With After Painting?
The medium that you clean your paint sprayer with after use is determined by what type of coating you use in the first place.
Water-based coatings can be cleaned with fresh water and a spot of dish soap (if permitted by the manufacturer). Whereas oil-based paints need to be cleaned with either thinners or mineral spirits.
Q: Do You Have to Clean Your Paint Sprayer After Every Use?
Yes, it’s super important to clean your paint sprayer after every use. Allowing coating to dry in the unit can cause clogs in the system — which can lead to major problems further down the line. That said, if you’re in this predicament, check out my How To Clean a Paint Sprayer guide.
Q: What Do You Use To Clean A Spray Gun?
Aside from the aforementioned cleaning fluid, it’s also worthwhile possessing a small soft-bristled brush to help you remove stubborn coatings.


