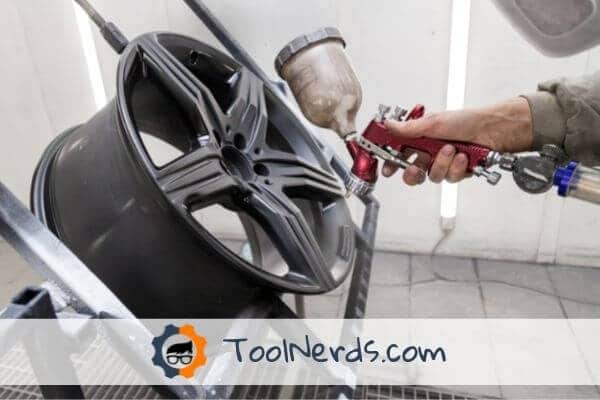
If you’re tentatively dipping your toes into the world of paint spraying, you’ll soon realize that your HVLP unit’s pressure output is the key to outstanding finishes.
Setting your unit to the correct pressure minimizes the orange peel effect that can result when spraying at a pressure that’s too low. Furthermore, the right pressure setting maximizes transfer efficiency, which saves you money on paint and reduces the mess you have to clean up at the end of the day.
Since there are a plethora of machines on the market, there’s no “one pressure fits all” solution. But to help you figure out the best pressure output for your machine, I’ve compiled this handy guide. Follow the tips below and even the most inexperienced home-improver can achieve results to be proud of.
Why Air Pressure Is Important
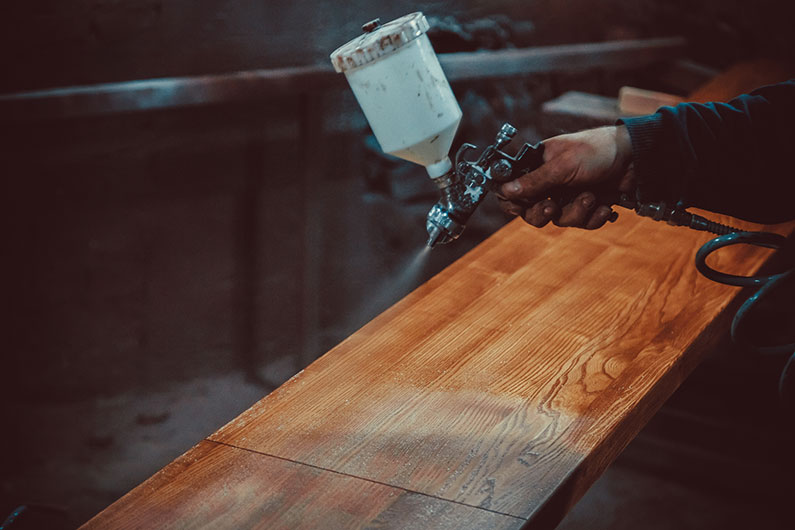
Air pressure is important as this is how HVLP paint sprayers push the coating through the system to the fluid nozzle. From there, it’s finely atomized, then emitted.
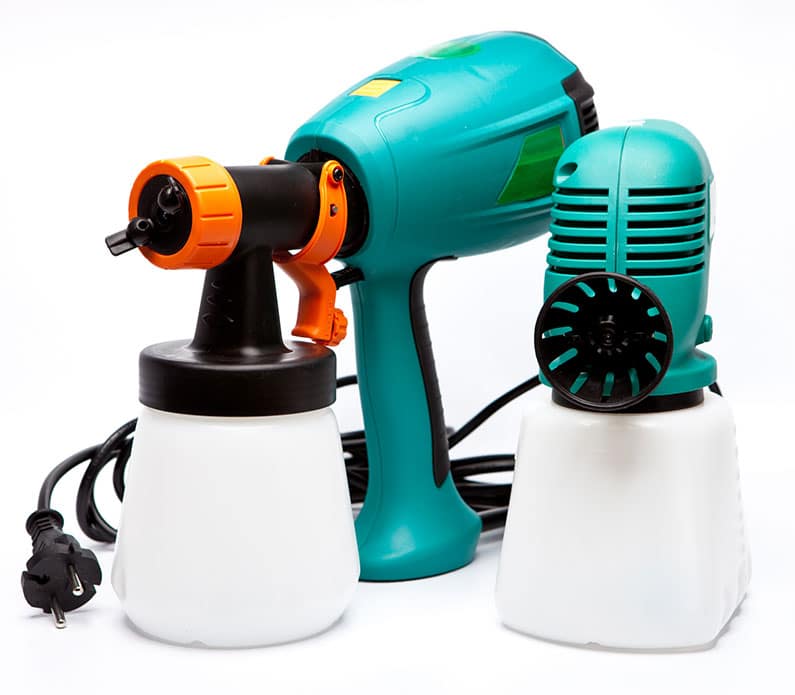
Whether you decide on a compressor-powered spray gun or a unit with an integrated turbine, the majority of machines have an indexed dial for pressure adjustments, so it’s easy to make incremental changes to the pressure.
HVLP Pressure vs Airless
HVLP stands for high-volume, low-pressure, and an HVLP spray gun draws approximately 15 to 26 cubic feet per minute (cfm) of air from the compressor or turbine.
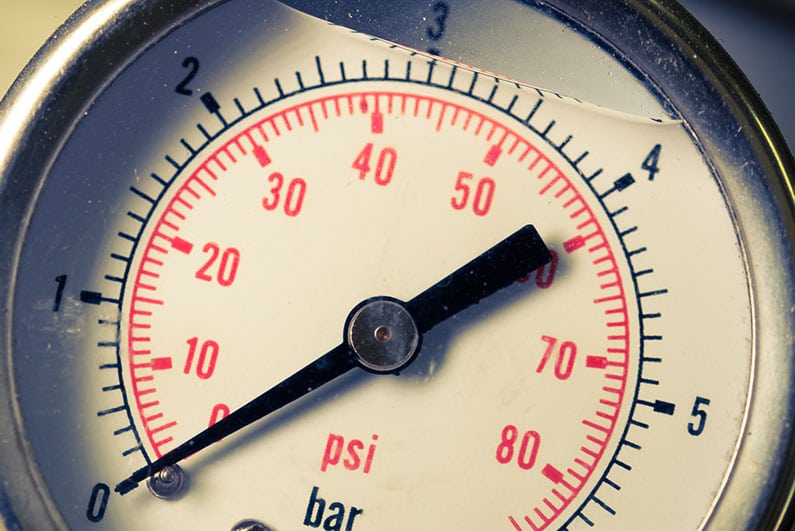
This volume is then enough for the unit to crank out around 10 pounds square inch (psi) of pressure. As this is relatively low, bounce-back is minimized and HVLP machines excel when working on small to midsize tasks in restricted spaces.
However, if you are planning on coating a vast area, then operating at the above rate will take a long time.
This is where airless systems come into play. Airless paint sprayers operate at a significantly higher air pressure of between 1500 to 3300 psi. This allows them to make short work of large projects, but there’s generally more overspray too.
Pressure and Nozzle Sizes
In general, nozzle size is dictated by the type of coating you’re using. For example, if you want to use a high-viscosity coating such as a heavy-bodied latex, you’ll need a fluid tip with an opening of between 0.021 and 0.025 inches. But for an oil-based enamel, an opening of between 0.013 and 0.015-inches is sufficient.
So how does this relate to HVLP spray gun pressure settings?
To push a dense coating through a wider opening, you need higher pressure, and vice versa for thin coatings and narrow openings. Not all HVLP spray guns are created equal, so check if your unit can handle thick mediums. The Earlex 6003, for example, is great for dense coatings and has a suitable fluid nozzle.
Pneumatic HVLP Spray Guns
With pneumatic spray guns powered by an external compressor, you have infinite possibilities when it comes to pressure output.
If you’re looking for a unit that can cope with automotive refinishes, base coats, and general all-around tasks, the Iwata WS400 Supernova Compliant Evotech is one of the Rolls Royces of the industry. Requiring 12.57 cfm, it atomizes paint at an impressive 29 psi.
On the flip side, perhaps you don’t need a unit with such high specs, maybe you intend to spray stain or just add those all-important finishing touches. In which case, the Central Pneumatic Touch Up spray gun could fit your needs.
Both of these sprayers have a small dial on the side to adjust the pressure output.
Inline Pressure Gauges
How To Determine the Ideal HVLP Pressure
You can read all the guidelines in the manufacturer’s manual, but it’s still difficult to put an exact number on the pressure that works best with your specific gun, project, and coating — although, it’s a good place to start. For this reason, the best way to figure out what air pressure you need for your HVLP spray gun is trial and error.
To set the optimum pressure, set up your spray gun per the manufacturer’s guidelines and then twist all the dials to the maximum setting. If there’s an air regulator, dial this to lower than where you believe it should be.
Place a piece of brown cardboard or paper (a dark color works better) on the ground and shoot a short blast of paint onto the cardboard. You’ll probably end up with a narrow pattern with larger droplets around the edge.
Turn the pressure up a bit more; by around five or ten psi and complete the process again. With each step up in pressure, you’ll achieve a wider pattern with fewer droplets at the edge. Keep the sprayer the same distance from the card with each blast so that you’re getting a consistent test. Spray from approximately 8 to 12 inches away.
You’ll know you’ve hit the perfect operating pressure when there’s no noticeable difference in the width of the pattern or drops when compared to the previous blast. However, even though it’s the optimum setting, you could still end up with more bounce back than ideal. In which case, reduce the pressure slightly if possible.
And that’s how you set the air pressure for HVLP spray guns when using a certain coating with a certain sprayer. If you’ll use this sprayer and coating combination in the future, and your spray gun has a pressure gauge, make a note of what pressure worked well to save time. Alternatively, if you are using a sprayer brand with markings on the dial, take note of the setting’s number.
Conclusion
When dealing with pressure settings and trying to get the optimum performance from your paint sprayer, there are a few things to keep in mind.
Whether your unit is turbine-driven or compressor-fed determines how the pressure is indicated on the dial and in the user manual. Also, does your chosen sprayer include an inline gauge as standard, or will you need to purchase an extra part?
Then finally, there’s the litmus test — exploratory spraying until you get the desired result. When you combine the above factors, you’ll be much closer to ensuring your HVLP pressure settings are correct.
HVLP Pressure Settings FAQs
Q: What Pressure Should I Run My Spray Gun?
It depends on what spray gun model you own and the coating you’re using. A good place to start is with the manufacturer’s guidelines and then complete a few test sprays, as explained above.
Q: How Do You Adjust the Air Pressure on an HVLP Gun?
The majority of HVLP sprayers come with a conveniently located dial on the spray unit. Simply twist this dial to the appropriate pressure output.
Q: Which Is Better, HVLP or LVLP?
The answer is that it’s very much horses for courses; each is suited to different things. HVLP spray guns are generally faster and operate with a higher airflow, they also excel at handling enamels and thinned latex. LVLP sprayers are a little slower but are great for fine, detailed work, especially with clear coats.
Q: How Do I Get a Smooth Finish With an HVLP Sprayer?
The best way to achieve a smooth finish with an HVLP spray gun is to ensure your pressure settings are correct for your chosen coating. Furthermore, take time to fully prepare your base medium for painting.
Q: What Size Air Compressor Do I Need For an HVLP Sprayer?
The size of the compressor required is determined by the spray gun’s individual specifications. Many will run on small home compressors but a few need a mid-size compressor.


