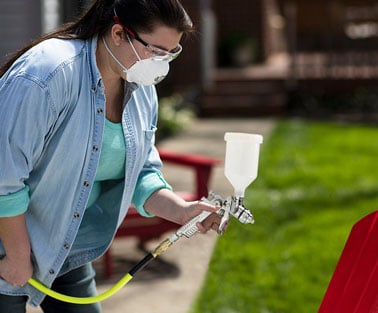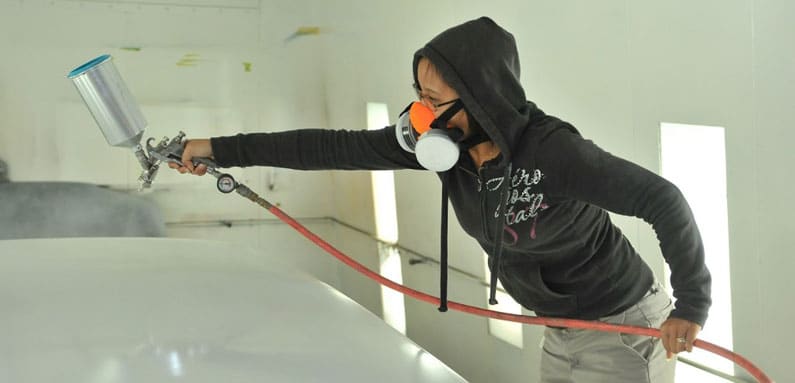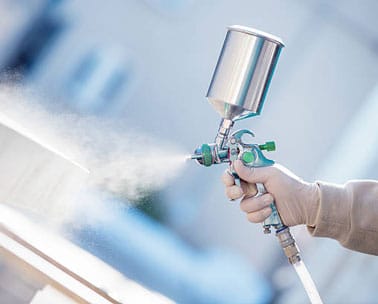
Contrary to popular belief, LVLP spray guns aren’t as complex as one might think. Even though they look somewhat complicated, the principle on which they operate is pretty simple and straightforward. However, that doesn’t mean anyone can just grab one and start painting a particular surface without making some adjustments.
If you’re a professional then you probably already know how these things work and in which way they should be adjusted and treated. However, thanks to the increasing popularity of these tools, many DIY enthusiasts and people who never had an opportunity to work with these tools decide to give it a go.
More often than not, people get disappointed by the subpar performance of spray guns and decide to give up pretty quickly. Needless to say, in the vast majority of cases, it’s about the way you set up your gun rather than it being damaged or faulty. In case you’re looking to learn the basics of properly setting up a LVLP gun, take a moment and read this short guide; it should offer enough information for you to get started and tackle your first project.
How Does it Work?
In order to adjust your gun properly, you first have to comprehend the basic principle by which these tools operate. LVLP stands for Low-Volume-Low-Pressure, meaning these spray guns operate at a low pressure in order to atomize the material. Gravity fed guns feature a paint cup on top and utilize gravity to feed the output.
The vast majority of triggers have two stages. Pulling it partially back introduces into the air cap without pulling back the needle. As one continues to pull the trigger further back, the needle will start to move thus opening up the tip so that the material can flow through.
As the material hits the air that’s already flowing through the cap, it gets atomized and blown into small particles. The further one pulls the trigger; the more material is fed into the system. Bear in mind, the further you pull the trigger, the less of material is atomized.

How to adjust a LVLP spray gun?
The vast majority of LVLP guns feature a fluid adjustment knob. This is usually the step in which most people make a common mistake of not adjusting it properly. This particular knob acts like a barricade which restricts the distance you can pull the trigger back. While this knob offers quite a bit of adjustability, we recommend leaving it wide open so that you can control the flow yourself instead of being limited by the knob.
Adjusting the air pressure is of utmost importance. In order to find the sweet spot, all you have to do is look into the specifications of your spray gun and see which pressure values suit it the most. Most of these guns operate at about 25-45 PSI. In order to adjust the pressure, squeeze the trigger to air-only position and fine-tune the values via the knob on the regulator. In case you don’t have a regulator at the base of the gun, you can use the flow valve at the base of the handle.
Most importantly, if you don’t have either of these, you may use an external regulator. The main thing here is not to skip this particular step as it is one of the most essential for good results. Failing to do so will result in uneven coats, overspray, wasting paint, and an overall underwhelming experience.
The fan regulator is also one of the crucial things one must properly adjust. With the fan regulator turned off, air flows only through the center of the cap. By opening the valve, air is introduced to the wings of the cap which consequently flattens the spray. The fully-closed pattern is mainly used for painting edges or narrow areas. As you start opening the valve, the pattern becomes wider. It’s important to remember that by using a narrower pattern less material is wasted. Turning the wings of the air cap into a vertical position will give you a horizontal pattern and vice-versa.
A few pieces of advice for novice painters
There are plenty of other things you should think about than just valves and patterns. However, if you’re a complete novice, those parameters are probably the essential ones, and in fact, that’s where most people make their mistakes.
As we mentioned, you should always read the specifications of your gun and make sure you’re using an appropriate air compressor. Using a weaker than recommended air compressor can and will cause a bad experience. The best thing about LVLP guns is that they don’t require a pro-level air compressor but can work with almost any affordable one that can yield at least 60 PSI. As mentioned, most guns operate at around 25-50PSI, so there shouldn’t be any issues as long as your compressor is capable of outputting that kind of pressure.
Material viscosity is also an extremely important factor. Many people make a common mistake of using thick materials with low-pressure guns which doesn’t end up well. One must thin the material to a reasonable level in order to get the optimal results. The thinning percentage usually revolves around 25-30 percent (1:3), but it can often be more. This is the reason why most experienced professionals use more powerful tools for thicker materials. It’s not impossible to use these tools with particularly viscose paints, but it’s not something most manufacturers would recommend.
Final words
This guide is designed to help you get started and comprehend the basic principles of LVLP guns. It is not a definite set of mandatory rules meaning you don’t have to blindly follow the instructions but instead get familiar with the do’s and don’ts.
There are many other rules that you should follow and most of them are usually written in the user manual. In case the user manual does not offer any instructions, don’t hesitate to watch a couple of videos or read some articles such as this one.


