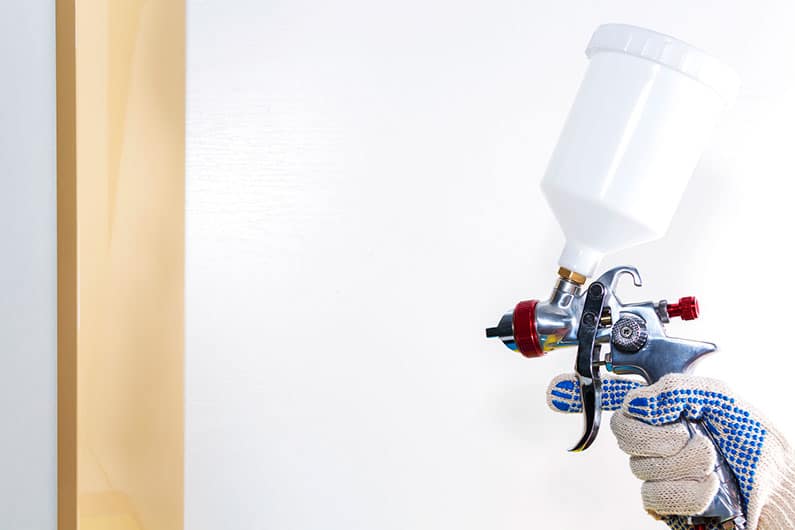
Are you wondering how to use a paint sprayer to complete your next paint job quicker and more efficiently? I will guide you, step by step, and provide some helpful tips along the way. This will help you better understand how to use these spray guns. In the end you will be ready to put them to use and ditch the traditional paintbrush and rollers.
First Things First, Supplies
For your paint project to go smoothly, consider having these supplies on hand. If you are wondering “what paint sprayer should I buy?” or “which paint sprayer is the best?” — check out our detailed list of top picks or our paint sprayer reviews to help find the perfect one for you.
Tools:
- Paint sprayer
Protective Gear
- Goggles/safety glasses
- Face mask/respirator
- Gloves
Prep Supplies
- Canvas or plastic drop cloth/rosin paper
- Masking tape
- 5-gallon bucket
- Paint stirrer
- Strainer
- Spare piece of plywood/cardboard/sheet metal
Clean Up
- Rags/paper towels
- Paint thinner
Once you have gathered up all the supplies you need, it’s time to begin.
Using a Paint Sprayer
Step 1. Prep the Area
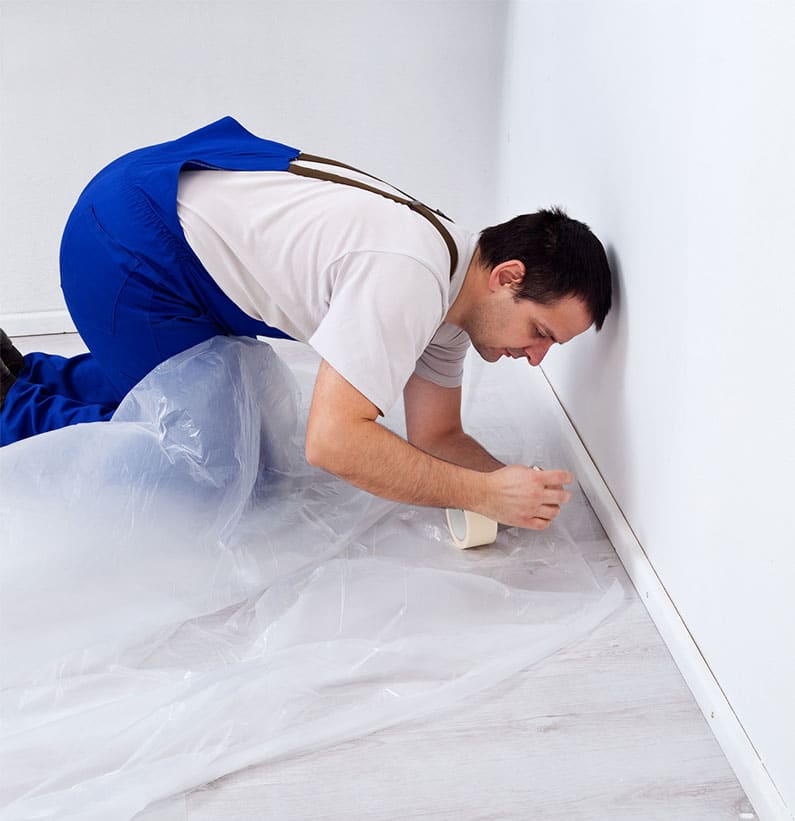
To prepare an area, make sure you clear anything that could get in the way. You will need room to move about freely, without worrying about tripping over any objects or getting paint on them.
Use masking tape, a drop cloth or rosin paper, and plastic drape to cover any surface you want to prevent getting paint on. Be sure to cover floors, trim, windows, power outlets, wall units, etc.
Canvas and plastic drop cloths can be slippery on hard surfaces, such as vinyl, wood, or tile, but are a great choice for carpet. Rosin paper will stay put on hard surfaces and may be more suitable.
Step 2. Prep the Paint
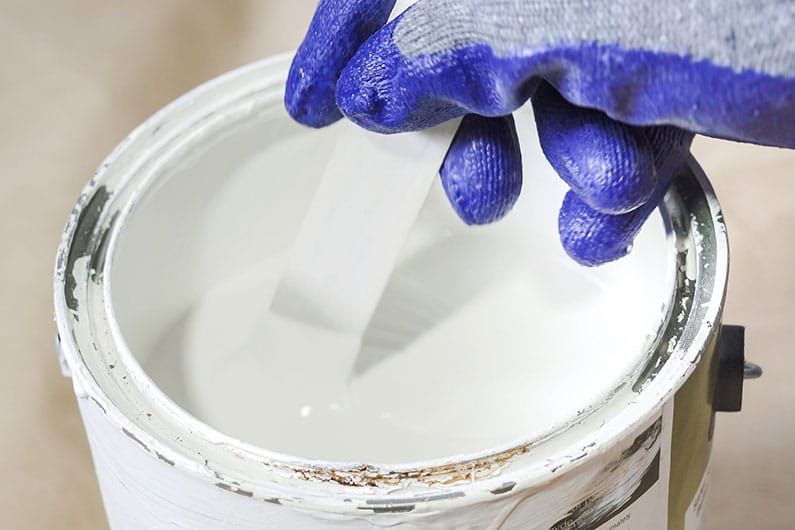
Like any paint job, you will need to mix your paint thoroughly, thinning it down if necessary.
Once your paint is mixed well, I advise pouring your paint through a strainer, to prevent your spray gun from getting clogged up. Clogs could be your worst nightmare and something you will definitely want to avoid.
Congratulations — your prep work is complete! Now it’s time to move on and learn how to properly use your paint sprayer.
Step 3. Practice Using the Paint Sprayer
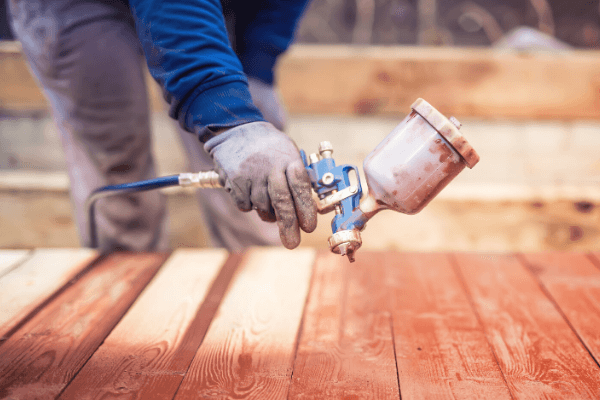
Put on your protective gear and make sure you are working in a well-ventilated area.
A paint sprayer can be used on a wide variety of different surfaces, such as paint spraying walls, fences, furniture, decking, kitchen cabinets — the list goes on. Your paint sprayer is suitable for interior and exterior use.
Before you begin, keep in mind these tips and techniques to use to get top-quality results:
- A big mistake many people make their first time is applying the paint in a sweeping arc motion. This will give you an inconsistent finish. For a consistent and even coverage, always remain the same distance away from the surface. Apply in a straight direction that is perpendicular to the wall and avoid angling the gun.
- For best results, hold the sprayer 8-12 inches away from the surface. Spraying too close can cause runs and holding it too far away will give you a sandy-looking coverage.
- All paint spray guns are different. Some spray more abundantly, allowing a greater volume to come out and there are those that spray wider or more narrow than others. Paint sprayer nozzle sizes vary, therefore, it is important to take time to get a feel for yours.
- Try out your paint sprayer on the piece of plywood, cardboard, or sheet metal you’ve put aside. Work on your technique until you are confident and have gotten used to your particular spray gun.
- Always have another surface to spray initially, before starting to paint your surface. There is always a chance that you’ll have air in the hose, which will cause the paint to splatter and spit out.
- Spray in straight, uniform strokes that overlap the last stroke at least halfway, to establish a consistent coating throughout the whole project.
- Have a rag available to occasionally wipe off the nozzle. This will help avoid paint build-up and stop the paint from drying on the tip. This issue can cause your paint to splatter instead of spray and could potentially clog the nozzle up. Check and clear the tip of your nozzle if your paint sprayer keeps clogging.
Now that you know how to use a spray gun, you’re ready to move on to the actual surface.
Step 4. Take Your Time Painting
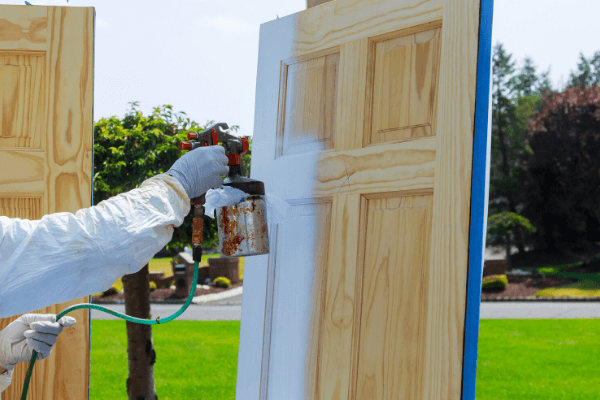
Keeping a steady pace and not rushing through the job will give you the best results. Keep an eye on the detail to prevent any errors and to give your painting a better visual appearance.
If you have corners to paint, start there. When spraying a corner, move in a quicker motion to avoid any paint build up.
Establish a pattern that works best to paint your project, and stick with it for the duration of the paint job.
Step 5. Touch Up
Stand back and look closely at your newly-finished paint surface, to see if there are any light spots or areas that need to be touched up.
Step 6. Clean Up
After you finish your project it is very important to clean your spray gun. Read our how-to article for more details. Alternatively, the manufacturer’s user manual will give you instructions on how to properly clean and store your tool.
Paint Sprayer Vs Roller?
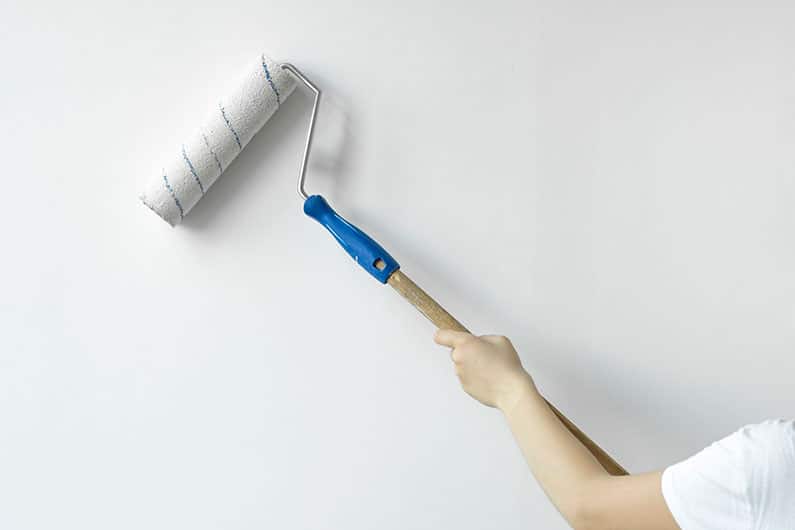
Sometimes you may need to use both. If you are painting a rougher surface, back-brushing may be necessary. This will help work the paint into all the cracks and crevices the sprayer may not cover well. Back-brushing is simply going over the surface with a roller or brush after it is sprayed. It is important to do this while the paint is still wet.
Conclusion
It is essential to know how to properly use your spray gun to carry out top-quality work efficiently. Now you know how to use a paint sprayer efficiently, the caliber of your finished projects will improve significantly. If you found this article helpful, consider sharing it with others that may find it useful. Do you have any questions or know of any other helpful tips and techniques? Share with us below. Contact us.


