
Knowing how to use a paint sprayer with air compressor places you into a select breed of DIYers — with it being literally the mother-of-all paint spraying techniques.
Sure, there’s nothing wrong with being an Average Joe using a bargain-basement handheld turbine to coat your interior doors — but if you want some serious kudos, one-upmanship on your neighbor, and the respect of the handyman fraternity — you need to know the basics of pneumatic painting.
Ready to join the select breed of serious spraying specialists? Let’s get started.
What Is Air Compressor Spraying?
Unsurprisingly, it’s using an air compressor to propel paint.
Generally speaking, there are three main types of power-coating — turbines, airless, and compressors.
Turbines are the most affordable units and use one or more internal fans to drive the painting medium. Airless machines — sometimes called hydraulics — utilize a piston pump to propel liquids. And, compressor sprayers — or pneumatic sprayers — feature an external compressor to knock out your covering material.
And that’s the key — this style of painting requires an additional powerhouse.
Turbines and airless sprayers, whether handheld or with an external motor, are complete off-the-shelf machines. Give one of these units to your brother, father, or son (or daughter I guess) as a birthday present, and they can take it straight out of the box, fill it with paint, and spray.
However, buy them a pneumatic gun, and unless they already own a compressor, it’s going to be nothing more than an expensive ornament.
Compressors use a power source — usually electric although sometimes they’re gasoline-driven — to create and store pressurized air in a seriously robust tank. This is connected to the spray gun, which also houses a paint container, which then atomizes and propels the coating medium from the shooter’s nozzle.
The compressor doesn’t have to be specifically designed for painting use — as long as they can knock out the correct pressure required by the gun, they will work fine. Hence, if you already own one of these machines for other tools such as nail guns, impact wrenches, or power drivers — all you need is the gun.
Air spraying is the original and traditional method of power painting. The first machine was invented by Joseph Binks in 1887 as a tool to rapidly whitewash walls. Although to be fair, it created compressed air via a hand pump — basically a 19th Century Super Soaker.
Advantages of Using a Paint Sprayer Air Compressor
- Tailorability — the majority of spray guns permit you to adjust the air pressure flow to suit your coating medium.
- Money-saving — less wastage means you use a smaller volume of paint.
- Safety — HVLP compressor guns operate at 10 PSI, airless machines can exceed 3000 PSI — spray an airless on your hand and it means a trip to the emergency room.
- Low-noise — quieter than hydraulic machines (although louder than turbines).
- Versatility — you can switch guns for different project requirements.
Disadvantages of Using a Paint Sprayer Air Compressor
- Require significant preparation time.
- Provide less rapid coverage than airless machines.
- Need a garage or outside area for spraying.
- Not suited to seriously viscous paints — unlike hydraulic machines.
- Don’t provide the ultra-fine atomization delivered by airless units.
What You Will Need to Follow This Tutorial
- A paint spray gun — HVLP, LVLP, or gravity-fed.
- Paint, stain, or sealer.
- Paint thinner — for some oil paints.
- Conditioner — for some latex paints.
- Protective gear — goggles, face mask, gloves, and coveralls.
- Air compressor rated for use with your particular gun.
- Viscosity cup.
- Teflon tape.
- Air hose.
- Drop cloths.
- Masking tape.
- Sandpaper.
- Cleaning cloth.
How to Use a Spray Gun With Air Compressor — Step By Step Instructions
Select Your Tools and Painting Medium
- Choose a spray gun for your project’s needs, then find a compressor compatible with this tool — not the other way around. You need to consider the size of your job, the coating medium you will be utilizing, and the type of finish you will require. For more information, check out my Compressor and Gun article for detailed guidance on the ideal equipment selection.
- Find the correct paint for your project. While not exhaustive nor exclusive, here’s a brief guide:
- Primer — bare surfaces such as wood and metal.
- Latex — walls and ceilings.
- Stains — wood.
- Acrylic — crafting.
- Enamels — areas that take abuse, such as kitchen cupboards.
- Urethanes — automotive.
Prepare Yourself
1. Think about how long your project will take to complete, set yourself a timetable, and stick to it!
This is especially important when completing larger jobs such as an automotive respray. Each coat, or particular area, should be completed in one session. Don’t paint half a car bonnet, have a coffee, and then return to finish the covering. This will lead to your paint drying at different rates, and leaving tell-tale signs of your impromptu time off.
Hence, always ensure you have sufficient time to dedicate your whole attention to your project. Choosing a day when the football game is on, you’re hungover from the night before, or your estranged wife and her new idiot of a boyfriend brings the kids around for your bi-monthly visiting session isn’t a good idea.

2. Don your protective equipment.
Yeah, I know it’s a hassle, and as a hardcore DIYer, you don’t want to be wandering around in coveralls and goggles looking like a CSI officer at a murder scene. However, blasting paint under pressure into your eyeballs isn’t particularly pleasant.
Furthermore, always ensure you wear a mask. Many solvent-based paints contain VOCs (volatile organic compounds) that, when inhaled, cause headaches, dizziness, breathing issues, nervous system damage, and fetus abnormalities (if you’re a girl, and pregnant, obviously).
Prepare the Spraying Area and Surface
1. Chances are, you’re going to be spraying in your garage or outside — unless you have the time, inclination, and permission from your partner to lug your compressor into the house.
So preparing the work area may not be as crucial as indoor spraying — but you still don’t want to drench your other tools, floor, walls, workbench, motorcycle, dumbbells, or your ‘specialty’ magazine collection with paint. Hence, use drop cloths, newspapers, and old sheets to protect your assets and masking tape to shield areas where coverage isn’t required.
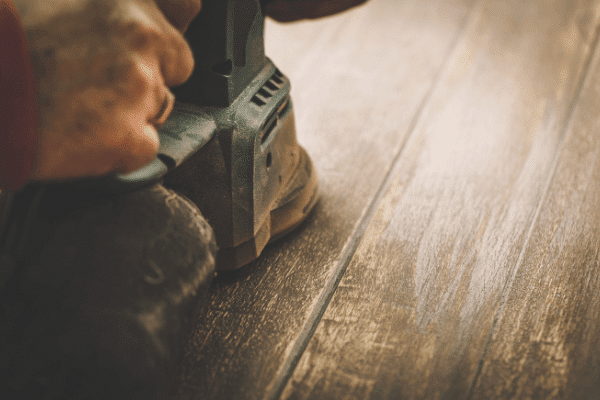
2. Painting doesn’t hide imperfections, it emphasizes them. Therefore, preparing your base material prior to spraying to ensure its blemish and flaw-free is crucial.
Whether you’re covering a car, fence, cabinet, or table — the process is similar.
Prepare the Paint
1. Since the majority of compressor painting involves low-viscosity mediums such as sealers, stains, and urethanes — thinning will not always be required.
However, depending on your gun model and type — diluting paint may be necessary, and almost certainly imperative if using a dense fluid such as latex or chalk-based coatings.
Your gun instruction manual will indicate the required level of dilution, by means of a viscosity chart. Use this in combination with a viscosity cup to determine the optimum thinning consistency.
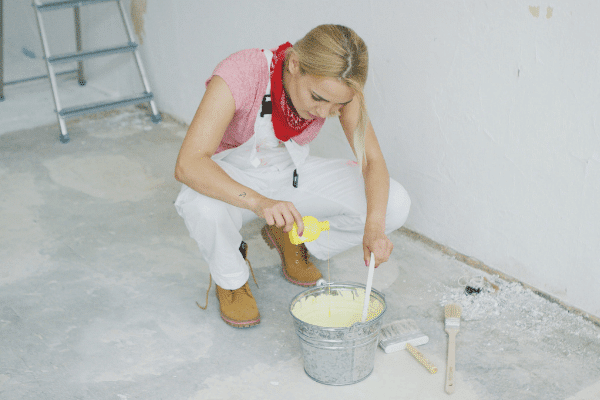
I’m probably stating the obvious — but just to make it clear — ensure you thin with the correct liquid.
Oil-based paints need mineral spirits, water-based you can dilute with, unsurprisingly, water. Furthermore, you can add a little conditioner to latex paints to promote a smooth flow.
2. Fill your paint container with the coating medium. Using a paint funnel or can pourer reduces the risk of mess. Furthermore, consider using a paint filter to reduce the likelihood of debris or detritus ruining your final finish. Then, attach the cup to the gun, ensuring a tight seal.
Prepare the Air Compressor and Spray Gun
1. If you’re using your air compressor for the first time — READ THE MANUAL!
Ok, I admit I’m guilty too — I just pull any new tools straight out of the box and start to play, considering the user instructions a waste of a good tree. But seriously, compressors are high-powered, expensive, and precise pieces of equipment — so ensure you familiarize yourself with its functions before starting to paint.
2. Check the gun is clean and remove any protective tip caps. Also, make a visual scan of the hose to ensure it’s free from holes.
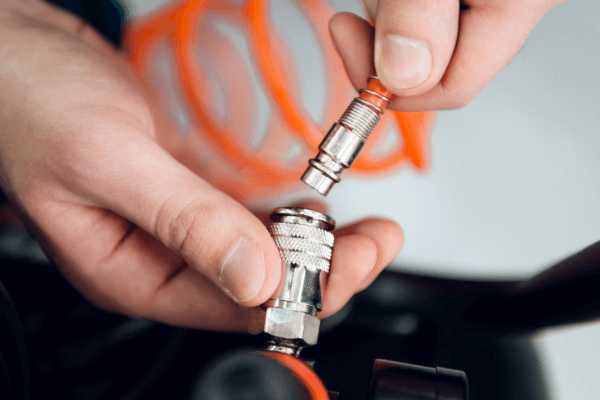
3. Connect the hose to the gun and the compressor. The attachments can be screw fit, bayonet, or quick-connect — so ensure you have the correct connector to suit your equipment.
Most modern guns utilize quick-connect fittings that include a substantial gasket to prevent air leaks. If, however, you have a bargain-bucket or inherited an antique paint gun from your grandfather with a screw fitting — a little PTFE tape will ensure a tight seal.
4. Switch on the compressor and set the pressure level to the required power — depending on your gun’s requirements. Some guns, especially HVLP types, include a separate in-line regulator, allowing you to step-down the pressure to suit the shooter. You may have to wait several minutes for the compressor to indicate it has reached the desired power output,
Prime and Test Spray
1. The majority of spray guns, whether gravity-fed like the SprayIt 33000 or siphon-fed such as the Campbell Hausfeld, feature a material volume flow control dial — typically mounted on the top rear section of the unit. Turn this dial fully counter-clockwise, allowing the gun to operate at maximum fluid delivery.
2. Now it’s time to prime the spray gun. Point this shooter into a waste bucket or towards a piece of throwaway cardboard and squeeze the trigger fully. Initially, only air will be emitted from the nozzle, followed closely by the stream of paint. Keep the trigger depressed until the paint flows smoothly, with no spluttering.
3. While still spraying, turn the material flow dial clockwise to step-down the delivery, until you achieve the optimum paint denseness for your medium and base material requirements.
Adjust the Spray Pattern
1. Most modern spray guns come with a choice of three spray patterns — vertical, horizontal, and circular — selectable by turning the nozzle end. The ideal one to use depends on the coverage technique you will be using in your painting job.
As a general rule of thumb, choose your pattern based on this guide:
- Vertical fan — for side-to-side movements, for example, when painting walls.
- Horizontal fan — for up-and-down motions, as when addressing railings or slats.
- Circular — for spraying when addressing smaller areas such as for corners and touch-ups.
Spraying Your Surface
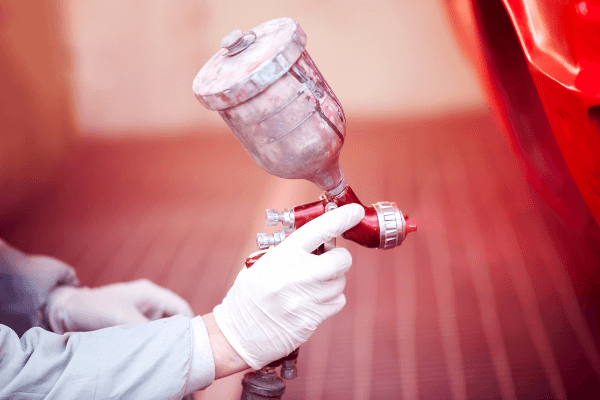
1. Hold the gun seven to twelve inches away from your target surface and squeeze the trigger to commence the paint flow. Keep the gun as upright as possible,
2. Move the gun slowly in either up-or-down or side-to-side movements, gradually progressing along your base material.
3. Ensure that each pass slightly overlaps the previous one — this ensures that the ‘feathered’ edges of the spray don’t leave thin coverage areas on your target medium.
4. At all times, check for pooling or drips on your project. If this is an issue, step down the volume delivery a little.
5. If covering an extensive area, you may need to refill the paint cup. After each replenishment, always check the gun is primed as in Step 13 — ensuring a smooth flow.
Completing Your Project
1. Once your job is finished, turn off the compressor and disconnect the air hose.
2. Detach the paint cup. You can return any unused material back to the original can (only if it’s unthinned). For diluted paints, you can store this liquid in the gun container if you have a storage-lid — or cover it with Saran wrap.
3. Thoroughly clean the gun nozzle, cup (if not storing paint), and siphon tube. Some pros will flush the system with either thinner or water — depending on the type of paint used. For a full description of post-project rinsing — check out my How to Clean a Paint Gun article.
4. Make a coffee, light a cigar, and stand back and admire your handiwork. Take a photo and post it on your Insta with the hashtags #ToolNerds #GodfatherOfSpraying or something similar.
5. Show it off to your partner or wife — and with a suggestive wink mention that you deserve a special ‘treat’ tonight for your hard work — using paint sprayer euphemisms such as ‘powerful suction’, ‘shooting massive fluid volume’, and ‘up-and-down strokes’.
Conclusion
Pneumatic spraying is the ultimate power-painting technique — delivering a clean and even finish with impressive controllability.
Perhaps more than any other coverage method — preparation is key. Ensure your gun is compatible with the compressor, spend time sanding and cleaning your surface, dedicate a few minutes to pre-project prime spraying, and then take your time during the delivery process. And, even as a complete beginner, you can enjoy pro-level results.
Should you have a buddy who you think may also enjoy or benefit from this article, please feel free to share with them!
You now know the basics of how to use a paint sprayer with air compressor — so choose one of the best guns and compressors and get spraying.
Spraying With an Air Compressor FAQs
What Are the Air Compressor Requirements for Spray Painting?
Depending on your particular model, pneumatic spray guns require an output of between 10 and 30 PSI and a CFM (cubic feet per minute) flow of around 0.3 to 12. For more info, check out my Paint Sprayer Pressure Guide.How to Spray Latex Paint Using Air Compressor?
Ideally, for spraying dense latex paints, utilize a gun tip size of 0.017-0.019 inches. For hints on the correct technique, check out this video.


