Please welcome our guest writer, Michelle Whyte.
Ardent farmers have a collection of different tools that accumulate over time.They just can’t seem to get enough of them as their skills and crop variety grows.
As such, they need a central place where they can keep them organized for easier access.
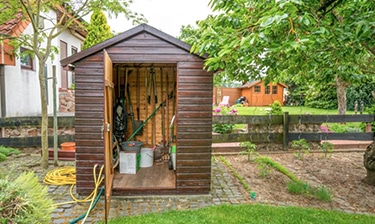
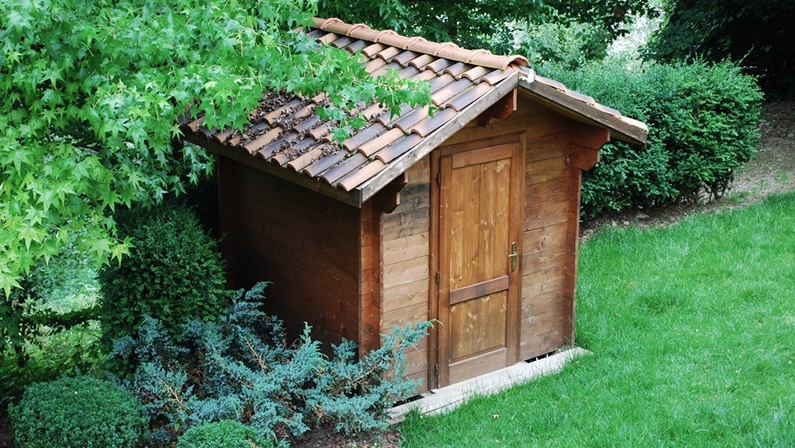
Also, tools demand a clean and dry place if they are to last long and serve you for longer. A shed made from rot-resistant wood like cedar provide perfect storage space for all the gardening tools.
And what’s even more interesting is the fact that you can always build your own tool shed. In the following write up, we tell you how to go about it and make some savings while you are at it.
The Tools and Materials
• Safety glasses
• Shims
• Framing nailer and a finish nailer – preferably with galvanized nails
• Miter saw, and a circular saw
• Tape measure and level
• 2x4x8 pressure-treated boards – 20 pcs
• Roofing paper – one roll
• 10ft 4×6 pressure-treated beams – 4 pcs
• Cement foundation blocks – 4 pcs
• 1x4x8 pressure-treated boards – 15 pcs
• T1-11 siding sheets – 5 pcs
• Half-inch CDX plywood – two sheets
• A bundle of shingles
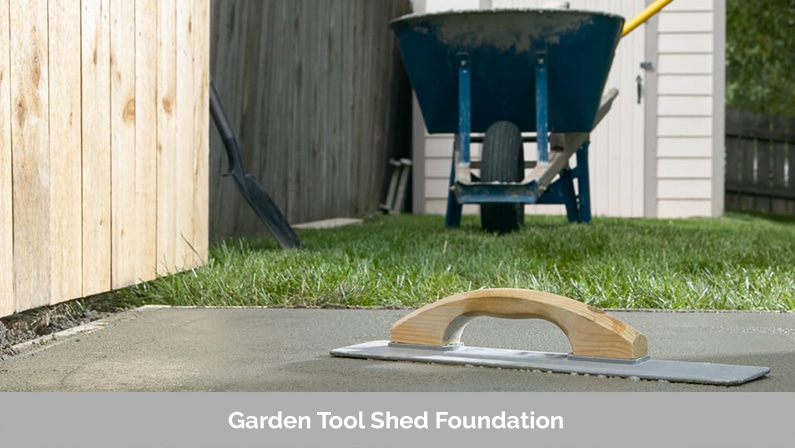
Step 1: The Foundation and Floor
The foundation must be on level ground. If it is not, get a shovel and make the necessary adjustments before burying the four concrete blocks on four corners. Make sure the layout is square by using a tape measure to line the diagonals.
And for the floor base, use the 4×6 boards by miter cutting it to make sure it is level all the way around. For this particular task I suggest using the Dewalt DCS361M1 Saw. This was one of the recommendations by Tool Nerds and it was spot on. Not only is it affordable but the precision of cuts were on point. You can read the reviews here.
Place another beam within the foundation and use framing nails to fasten. The circular saw will also prove a significant help for trimming the boards to size.
Use decking boards to cover the platform adequately for the floor. Make good use of the tape measure and marking tool to cut them to size before laying them on the frame and fastening.
Step 2: The Walls
Assembly of the framing is easier on the ground before attachment to the foundation. You will need the assistance of a friend to lift the walls in place and hold them while you fasten them to the foundation.
Step 3: The Ceiling and Roof
The joists’ back ends must be serrated to level with the header of the back wall. And if you want to ascertain the angle and depth of the cut, grip a beam up at the end of the structure and level the foot with the topmost point of the forward-facing wall – this shouldn’t be too hard.
For the back wall, lower the beam a three-quarter inch from the apex of the wall and mark the plate of the posterior wall onto the beam. Use the jigsaw to make the cut.
And for the other joists, utilize the initial one as the blueprint for the notch pattern. The benefit of notched rafters is to provide even area for the roof. Place the rafters above the front and back walls and fasten them.
Size and fasten the plywood on the roof. For this task, you will also need the help of another person to place plywood on the roof – it is never too easy alone. Use 8d nails with a spacing of 8 inches.
Then place and secure the roofing paper onto the plywood. Start from the lowest point when nailing the roofing onto this paper.
For this project, you can use matching ridge shingles and laminated asphalt shingles. However, you will need to attach asphalt starter strip along the edges of the roof before you can fasten any shingles. Maintaining a spacing of 12 inches, use the roofing nails to secure the starter strips.
The importance of asphalt starter strip is to make sure there are no exposed roof deck spaces on the first shingle course. Working from left to right, place the first shingle course right above the starter strip – be careful with this. Don’t forget to follow the manufacturer’s nailing requirements to the letter.
Step 4: The Door
Step 5: Painting